


"Ideas for the first attempts at hand"
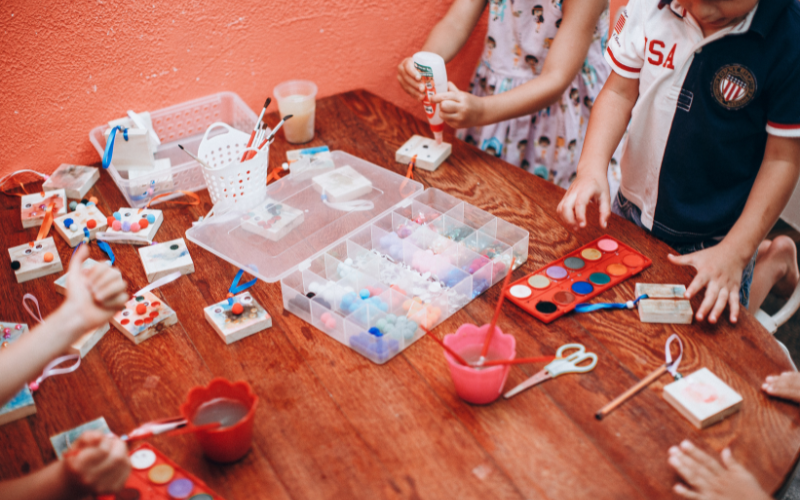
Children love being creative. Crafts promotes fine motor skills and encourages the little ones to focus concentrated with one thing. Crafts with small children are part of a happy childhood.
From the first year of life
As parents, you can actively support your offspring in designing wonderful cabaret. Even the little ones are able to make something nice to make. Today we give you a few craft ideas if you want to tinker with small children from one year.
First handicraft ideas for boys and girls up to the second year of life
Whether you believe it or not, but tinkering with small children is possible from the first year of life. The child cannot keep a pen properly or even use scissors. Finger colors or potato printing are suitable for creating artistic pictures. At this age, the little ones love to spill, muddle and rumple. So use simple and effective means to use finger colors:

Potato print
Finger -colored pictures - first pictures of the offspring
This is not yet a matter of drawing clear forms and figures, but rather creating a picture as colorful as possible. You only need different finger colors, paper or light wallpaper and of course a protective pad on the table. Spread the wallpaper on the table. Now provide the colors and let the little ones paint with your fingers to your heart's content. This sometimes creates beautiful and creative pictures. Please do not leave your child unattended. Even if the colors are declared non -toxic, the offspring should still not eat them.

Painting with finger colors
From the age of second year more is already possible
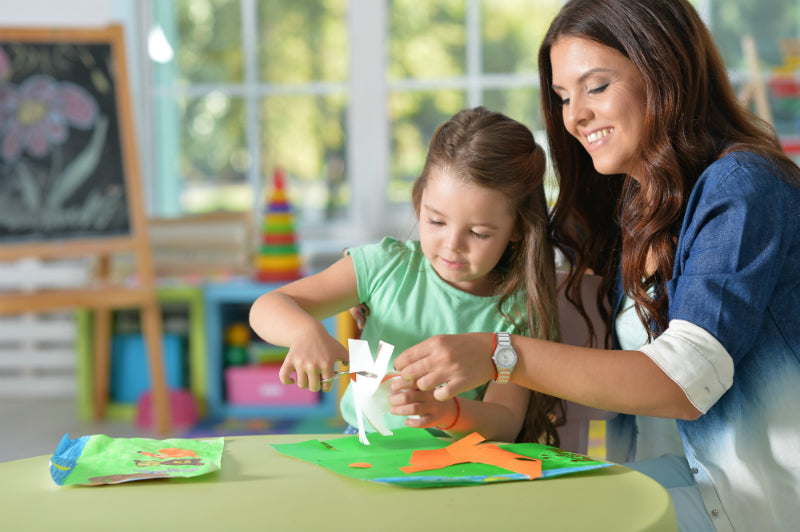
With every further development step by the children, further craft ideas for small children can be implemented. As a rule, boys and girls around the age of life are able to deal with childcare and to cut out light shapes such as circles or square. Of course, don't leave your little sunshine alone, but always work together. Of course, toddlers still need help and a certain guide.
Handicrafts for toddlers: versatility and inventiveness create new creations
In the following, you are happy to inspire you to try out other things than just paint a picture.
Many parents discover their own creativity when tinkering with small children and it becomes a wonderful, common pastime!
Memory game from fabric cards
Why only creates decorative works if you can just as well create your own games and toys? Small children love the game Memory. It promotes the ability to concentrate and trains memory. In addition, there is the imagination, which is also consolidated. Just make your own memory game with children!
 60x60 cm")
Your handicraft materials:
- 10 different Colored fabric towels (e.g. Nuschelis)
- 1 sheet of cardboard box
1. Cut the cards
Cut the cardboard box out of the same size as possible. Draw the lines with a thick marker and then cut out the cards together.
2. Cut the fabrics
Now cut the fabrics to 20 equal parts. Make sure that you need two panels from each color. It is advantageous if the pieces of fabric are slightly smaller than the cardboard boards.
 60x60 cm")
 60x60 cm")
3. stick the fabrics
Now just glue the fabrics on the boards and you have already created a small, simple memory for colors yourself. Of course, the back of the boards tolerate some color.
Tip: For somewhat larger children, the fabrics can also be tailored in different forms. This quickly increases the level of difficulty and it remains exciting.
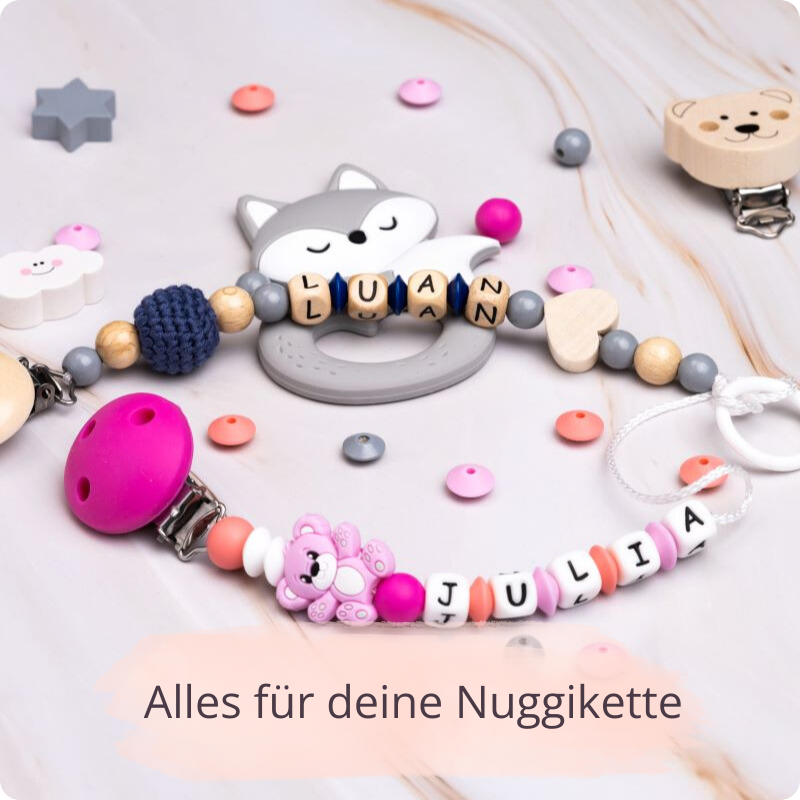
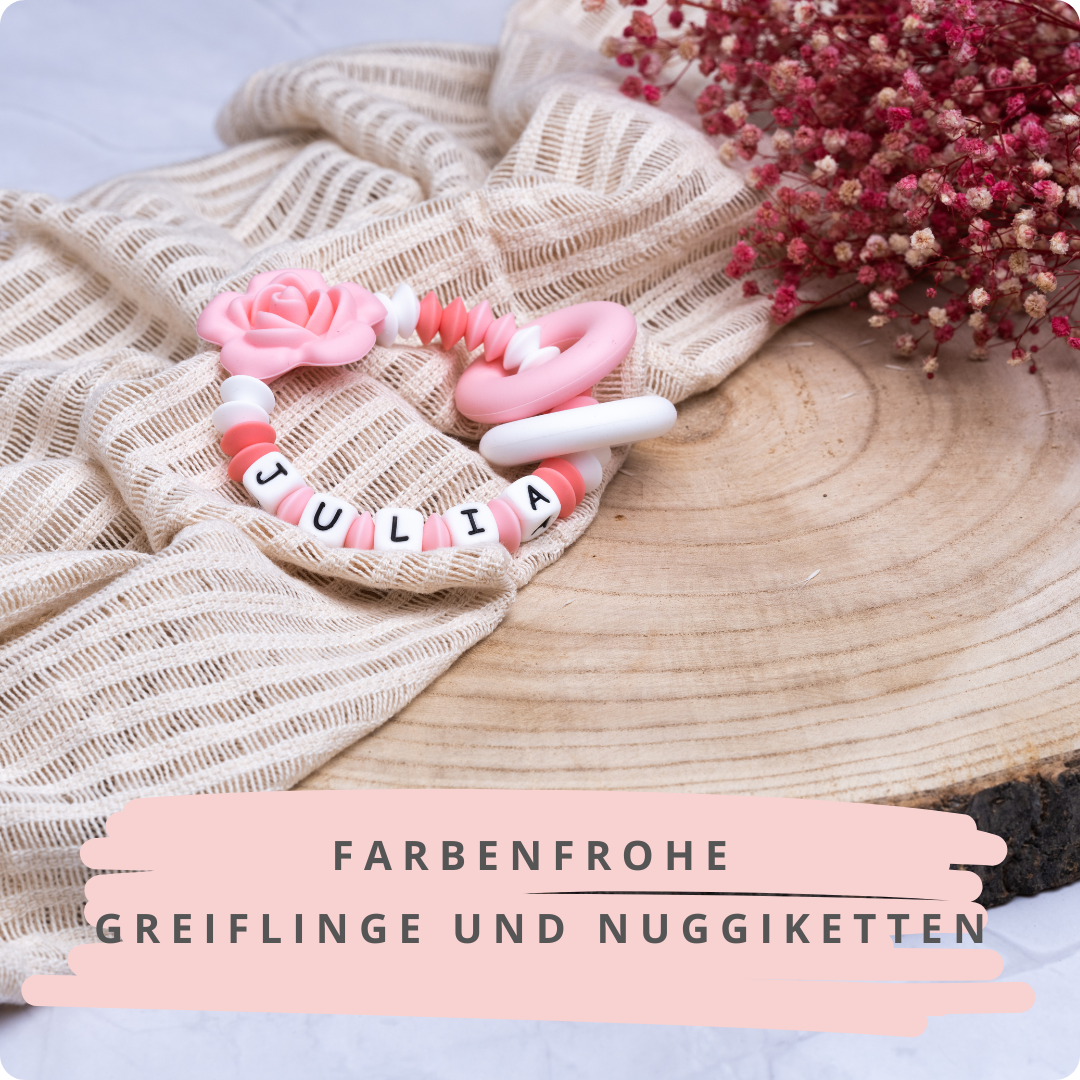
Craft ideas for a small caterpillar made of pearls
Small children like to tinker with pearls. Wood pearls in different colors and shapes offer you more craft ideas for toddlers. You can easily convert the classic pearl chain to many figures. How about a colorful caterpillar? For this you need the following handicraft materials:
- Various wooden beads in different colors
- 2 Crochet pearls
- Thread cords
- 1 foam ball
1. thread and fasten
Start threading at least three cords. These can be quite long. Up to 30 cm are ideal. The colors hardly play a role for a colorful caterpillar. If you want to provide each cord with your own color, then get on your pearls accordingly. Small children can thread the pearls and have a lot of fun. Once the cords are ready, attach the end with a safe knot and first put the cords aside.


2. The head of the caterpillar
Take the small foam ball to hand and share it in the middle. Cut out a small notch at the bottom, into which the cords are later embedded. Glue the crochet beads as eyes with hot glue.


3. The body of the caterpillar
Now simply let the body emerge from the pearl cords. You can simply twist them into each other or also connect them with the help of the braiding technology. In any case, a beautiful, large role is created, which serves as a body of the caterpillar. Knote the ends tight again. Now apply some hot glue to the notch below the head of the caterpillar and now attach the body from pearls.


Tip: You are welcome to make the head of the caterpillar with a fabric pen a little more detailed. For example, apply a mouth or simply mark a few cheeks. Many toddlers want to do this themselves.
The Villa Kunterbunt - based on the model of the Swedish children's book heroine
Generations grew up with the stories of Pippi Longstocking. A much used topic when it comes to tinkering with children. Design your own Villa Kunterbunt from a box. A wide variety of craft materials can be used. From colorful fabric towels, over Handicrafts to leaf through.
For the villa you need:
- 1 cardboard box (closed around as far as possible)
- Fabric towels in different colors (also like remnants of other handicrafts)
- Finger -colored
- Wooden beads
- Thread cords
In addition, the craft scissors and the hot glue should not be missing again.
1. The basic design
First place the empty box in front of you and, together with your child, think about where windows and doors should be created. Sketch this area with a marker or pencil. You take over the cutting out. Small children like to watch out to be interested in whether they do everything right.

Make your own villa colorful from a box
2. Colored design
Now it is time to breathe life into the box with as many colors as possible. Feel free to use the finger colors or ink and brush. Depending on what gives you and your little treasure more pleasure. There are no limits to the imagination. Beautize the entire box around the entire box.

Children with finger colors
3. Design the roof of two cardboard and attach
Before you put on the roof later, it has to be designed beforehand. This is easier and your little treasure can actively support you. When the cardboard has dried, they can be attached to the box. To do this, fold a 2cm wide bump edge at the respective ends. First glue both ends on one side of the box. Then bring the cardboard together so that you can glue the bumper edges together. The roof is ready!
Short break and maybe a nap for small children: everything has to dry well at first!
4. Set colorful accents and details
In order to give the house a touch of Villa Kunterbunt, it is now time to give the whole thing a few uniqueness through a few accents. For example, cut the fabrics and glue them as curtain or curtain in front of the windows.
")
")
Or you can cut the towels into thin strips and place colored accents by sticking it on on the roof. Even short pearl chains can be used. For example for the door frame.
In every respect, such a project offers a lot of potential to let your imagination run wild.
For example, several toddlers can work on a children's birthday party. A correspondingly large cardboard is a prerequisite here.