"Craft ideas that make the little joy"
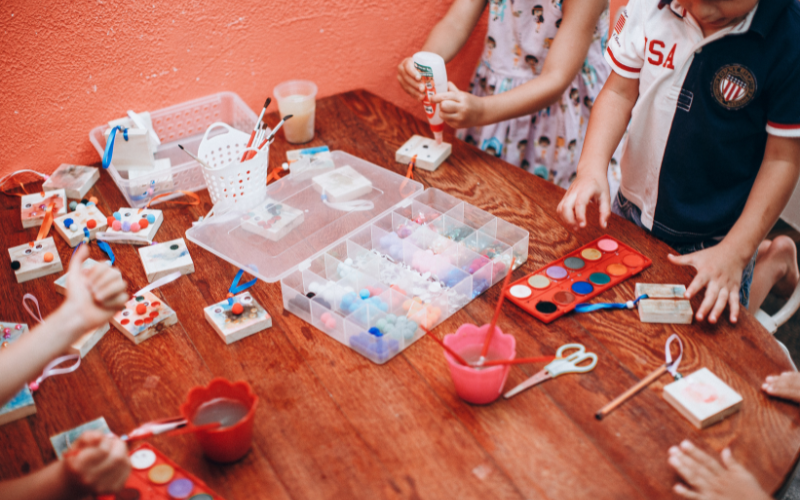
Crafting with children is not just a nice job for the little ones. It is time together when you can combine and live out creativity, concentration and fun together. With a few nice handicraft ideas for children, there is never a lack of new creations.
Fine motor skills and concentration are trained
Children love working with different materials and putting them together into their own work of art. Creativity ensures that a child steadily improves and optimizes his imagination. Of course, tinkering is not just a simple employment measure.

When tinkering, fine motor skills and concentration are trained
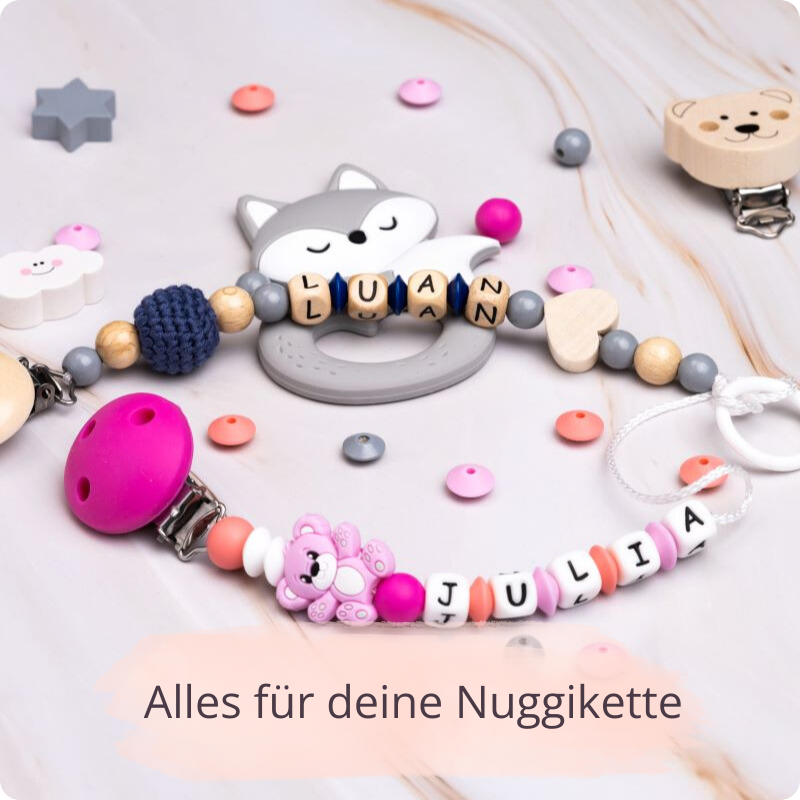
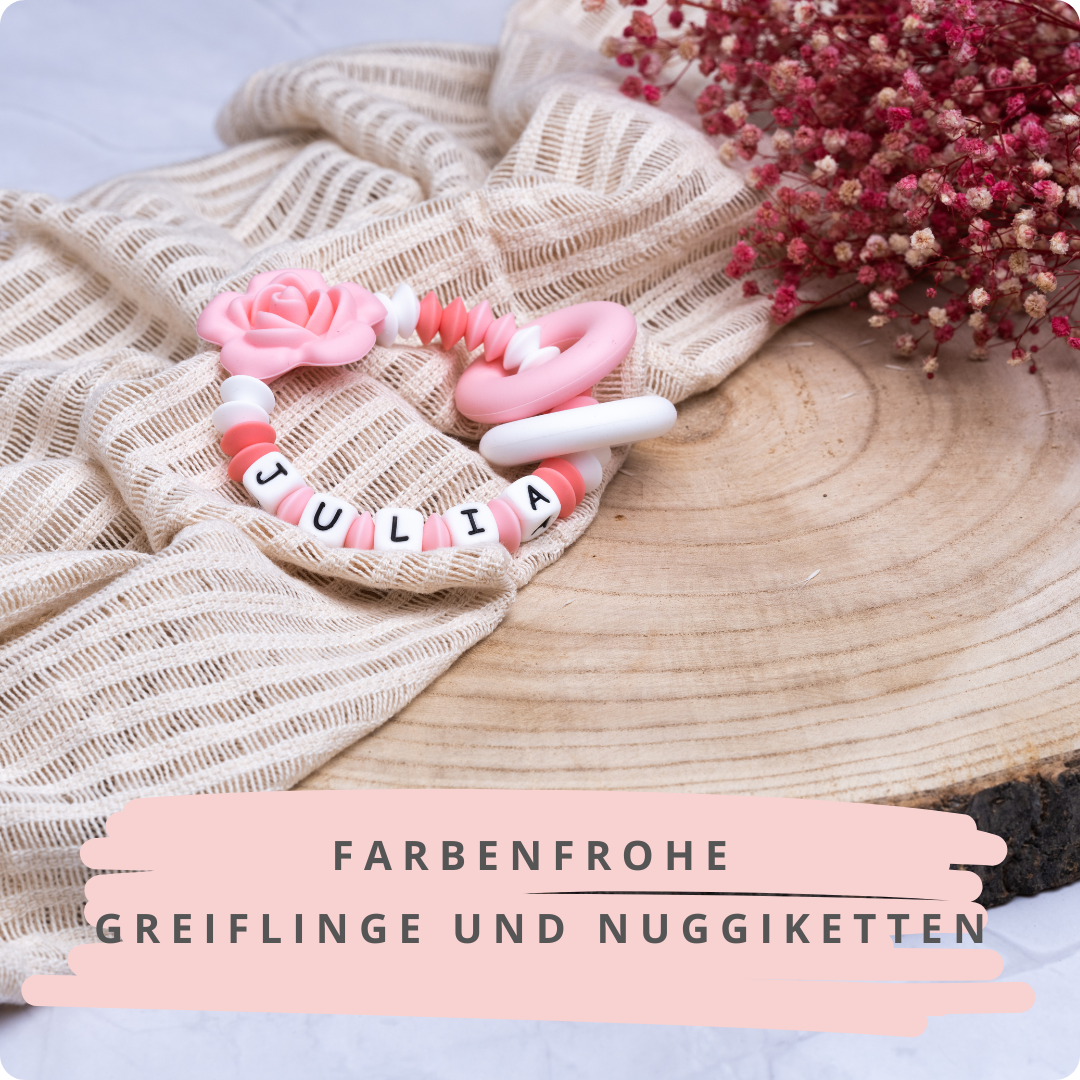
Behind this activity there are numerous positive aspects that affect a healthy development of the child. On the one hand, the ability to concentrate is promoted, on the other hand, fine motor skills and creativity. It primarily depends on the materials used. The thread of pearls alone requires good sensitivity and a lot of concentration. Last but not least, handicrafts with children help to improve the eye hand coordination. All of these are important foundations in order to be able to grow new challenges later in everyday school life.
Handicrafts lays an important foundation stone
The younger the children are, the more support you first need from the parents. It is not uncommon for the youngest to hold some tools among the handicraft artists for the first time. So use child -friendly utensils for tinkering with young children.

Handicrafts lays an important foundation stone
Children's scissors are a good example. These are intended for small children's hands and have no sharp -edged tip on which the little ones could injure themselves. As a parents, you should always follow the guiding principle with your child support:
"Help me do it yourself!".
This is taken from Montessori pedagogy. Children should be shown the path, but should not be removed completely. Learning and improving experiences from experiences and mistakes is the motto. Show your child how it has to deal with the tools and let child themselves become active.
Wonderful craft ideas for the little ones: the magic tree collage
Painting with the little pictures is an excellent idea. But how about putting together the works of art of the little ones together with them into a loving, colorful collage? Various materials can be combined. Do not give the child a specific direction, but rather ask what motives should be created on the collage. Sometimes it does not necessarily have to result in a picture in the classic sense.

Wonderful craft ideas for the little ones
We give you craft ideas for children with whom you can make such a collage together. To do this, we design a colorful magic tree. This offers enough space for the child's imagination and can be designed freely to your heart's content. As usual, first lie down the most important materials for tinkering, so that you have everything at hand during the actual work.
- 1 sheet of A3 or A4 leaves
- Craft arches in different colors
- Nuscheli in different colors
- Leaves and branches
- Crochet pearls
- Color pencils, water colors
Note that this tree becomes very large. Therefore, the walls in the children's room are perfect. If you do not want to edit them directly, we recommend raising 1-2 empty tracks with new wallpaper in advance. So you can simply pull off the magic tree collage if it is no longer needed.
1. The basic elements for the tree
Start making the basic elements for the tree. To do this, wait until the paste of the wallpaper tracks is completely dry. If you start directly on the wall, you can start raising the individual elements for the trunk right away. Unfortunately, your child cannot help here, but it can already bring his ideas into account in terms of design. Who finally says that trees always have to be brown and green?

Take the Nuscheli, which are supposed to serve as a trunk, gradually open. Then with Nuscheli in your child's desired colors, the tree crown and the individual branches. In this case, tinkering with Nuscheli may seem strange to them, but the plush effect of the end result speaks for itself.
Alternatively, you can also fall back on colors and simply paint the tree trunk and crown, but the plush “touch effect” would be lost.
In any case, remember to provide the tree with several branches, on which the pictures of the children are then attached.
2. Decorations and details
If the basic structure is located, loving details can be attached to decorating. Crochet beads, wooden beads or other things are very suitable for this Craft material.


As a further supplement, you can of course also collect small branches, leaves, acorns, pine cones or the like for tinkering with your child, as well as the Handicrafts, apply with the hot glue.
3. The finishing touch
Finally, it is important to design the basis with a lot of creativity. Your little sweetheart can now paint pictures on DIN A3 or A4 leaves and place them on the magic tree collage as you please. The small works of art can also be replaced or exchanged with each other at any time.

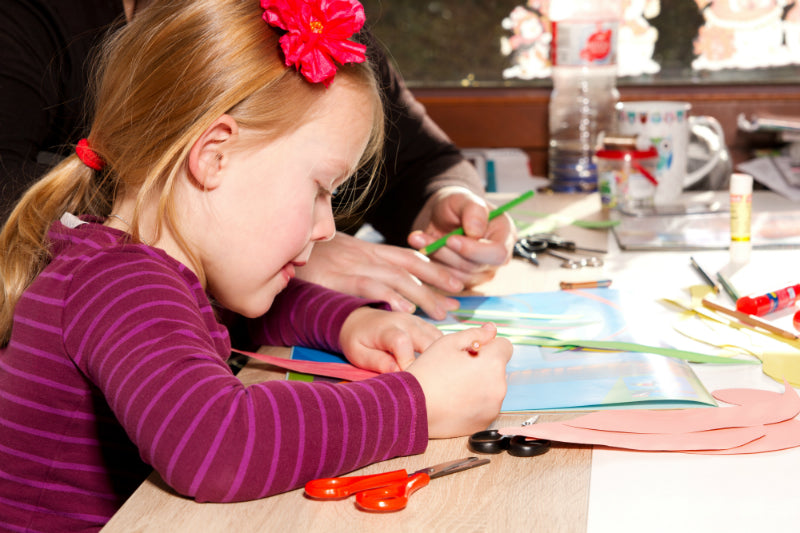
Maedchen tinkered with autumn blades
Tinker with pearls and natural materials
Nature provides you with a lot of beautiful handicraft materials. There are hardly any limits to creativity. From painting stones to merging sticks to artistic animal figures from chestnuts. We give you the idea for something even more unusual: a mobile of natural materials.
You only need the following utensils:
- 3 sticks
- Thread cords
- Chestnuts, pine cones, acorns and other natural materials
- Various wooden beads
1. The basic structure
For the basic structure, first use the sticks, which can also be rough, stable branches from the forest. These are shortened to a uniform length. Then you have to drill small holes in the pieces with a fine wooden drill, through which the threads are to be pulled later. You can define the number of holes yourself and depending on the length of the sticks.
We recommend between 5 holes for thread cords, as the sticks have to be connected later in the course.
2. Tension threads
It is now the turn of the thread cords. Cut threads through the outer holes of the sticks and knot them above the hole. With 2 sticks, it is important to leave the medium hole free. It is needed later to tie the sticks together to a mobile. On the third floor, they leave a total of 3 holes.


3. Threading elements
With the help of a fine drill, you can now drill small holes through the chestnuts, acorns, pine cones and other materials. Now the help of the child is again in demand for tinkering. It is due to the threading of the individual natural materials and wooden beads. There are no limits to your little sweetheart here. In the mood, the individual components can be mixed with each other and brown up wildly on the threads. Then you only have to connect the individual mobile parts.


To do this, thread a thread through the middle hole of the two sticks and knot this so that it sits firmly. Then the two sticks are connected to the third and right hole with the third. The middle hole of the third floor litter you with the cord, which the mobile should wear afterwards. Congratulations, the mobile of natural materials is now ready.

