" Great decorations for indoors and outdoors "
In spring, it's finally time to go outside again. The children can run around in the garden to their heart's content and the adults can enjoy the sun shining on their faces. Warm evenings are perfect for campfires and barbecues. In the dark, lanterns are a real eye-catcher. Here we explain how to make these pretty garden decorations with your children.
Spring crafts with children
Spring crafts with the whole family are fun for everyone. However, it requires good preparation and a place where nothing can happen. It's best to go outside straight away if the temperatures allow it. Lay out a large area of old newspapers and put an apron on the smaller children. apron on. Glue, paste and bright colors are used for almost all lantern variations.

Cover the preserving jar with crepe paper
Once the craft materials ready, you can get started. As a parent, it is best to make your own lantern. That way, you won't run the risk of interfering with your child's project too often. Making decorations is first and foremost about creative ideas and their implementation. That's why the words "wrong" and "right" are out of place here. You can try things out and splodge to your heart's content.
Using scissors, brushes, pens and other craft materials is also a lesson in fine motor skills. Children learn very quickly if they are given the opportunity. If one of the lanterns doesn't seem safe enough to put a real tea light in at the end, simply use LED lights.
Variant 1: Creative pasting
To decorate lanterns using this method, you will need the following materials:

Lanterns / lanterns to hang up
- Empty jar (preserving jar or jam jar)
- Paste
- Paintbrush
- Tracing paper (alternatively napkins)
- Scissors
- Tea light
You can buy the paste ready-made or make it yourself from water and flour. Mix 500 ml of water with 150 g of flour. Boil the mixture while stirring. When the paste has cooled down again, you can start making lanterns.
First decide on a background color. Soak enough paper or napkins in the chosen color with paste and apply it thinly to the glass. If you don't want to get your fingers dirty, use a bristle brush for this.

Crepe paper
Now cut out shapes from the paper or napkins as desired. These can be abstract snippets, landscape elements, animals or other things. Then apply these to the background. If the paste is already too dry, brush on some more.
Now the lanterns just need to dry for one night and the garden decoration is ready. When it gets dark, place a lighted tea light in the glass. The bright colors glow beautifully.
Variant 2: Without fire
This option is ideal for children who are still very young. In principle, the procedure is the same as in the first variant. The only difference is that the glass is decorated upside down. This means that the opening points downwards. Instead of a real tea light, place an LED light in the lid of the jar. Now screw the lid onto the jar from below. With this garden decoration, the children can stay alone without any danger.

Mason jar with LEDs
Variant 3: Shadow play
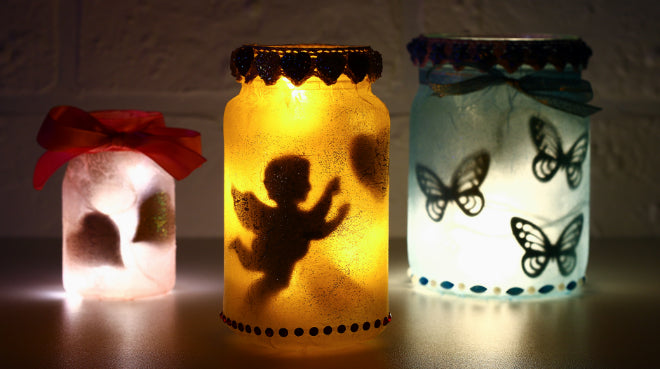
This method creates a fantastic effect of light and shadow. It is not only suitable for the garden in spring, but can also be used as a decoration in the house in winter. The moving shadows make a particularly great impression on room walls.
You will need the following materials:- large, empty glass jar
- gauze bandages
- liquid glue
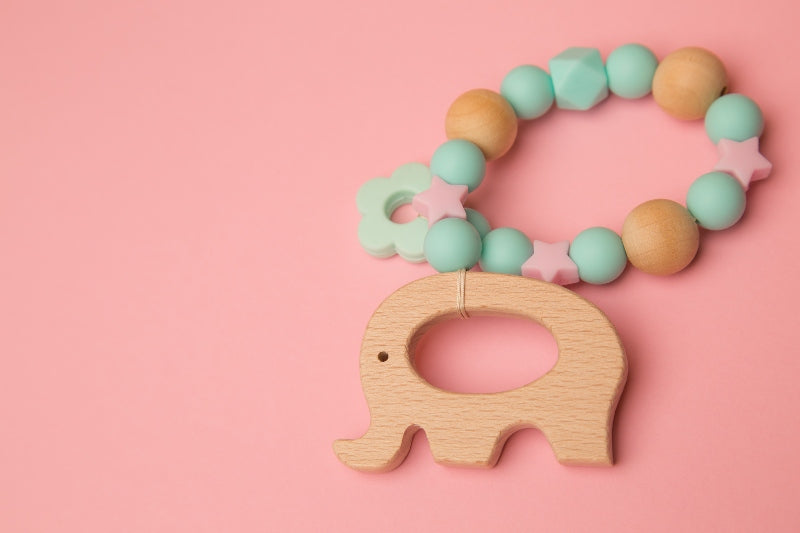
- silicone motifs
- tea light
Apply the liquid glue to a large area on the outside of the glass. Then wrap a layer of gauze bandage around the glass. Pull the bandage as tight as possible. This will allow more light through later. If you like, you can now color the bandage with watercolors.

Finally, stick on the silicone motifs. Their shape will later be visible as shadows on the wall or on trees and bushes. Silicone is particularly suitable for lanterns as it is very heat-resistant. Leave the glue to dry for a while before placing the tealight in the glass.
A hanger
Usually, the lanterns you make are simply placed on the table. However, they look even more impressive as garden decorations when they hang from branches or dangle from a clothes horse. That's why we're giving you brief instructions here on how to hang the lanterns from versions 1 to 3.
To make the hanger, you will need...- Lid of a large preserving jar
- wire
- Hammer and nail
- carabiner
- silicone beads as desired
The lid of the jar used is usually too small. Therefore, look for a lid that you can comfortably place it in. Use the nail to make four to six holes evenly spaced around the outer edge. To do this, place the nail in the chosen spot and hit it hard with a hammer until a hole is created. Be sure to place an old board underneath first!

Now cut off as many pieces of wire of the same length as the holes you have made. The wire should not be too thin and the individual pieces should be at least 50 cm long. Push one end of the wire through the hole from top to bottom so that a good 3 cm sticks out at the bottom. Bend the piece outwards and upwards, where you twist it with the remaining wire. The upper ends of all the pieces of wire are looped around a carabiner several times. This allows you to hang your decoration anywhere in the garden. If you like, you can embellish the wire with silicone beads.
Instructions for using the lantern
Never leave your child alone with a burning tea light or candle. Make the garden decoration together and use it together. This is safest for everyone. If the wind blows strongly, the hanging garden decorations in particular must be extinguished.
Also make sure that the lanterns are not placed near children playing. A carelessly kicked ball or a running child could knock against it. Even if the tea light does not burn at that moment, it would still be a shame to lose the beautiful work of art from the spring crafting session.


