" Colorful motifs for spring "
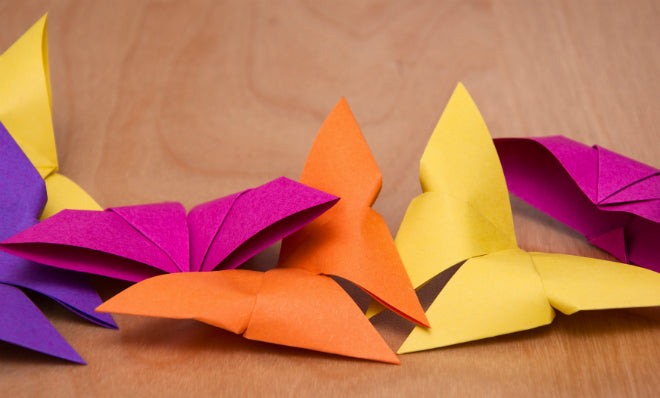
Crafting with children is not just an activity, it also promotes creativity and fine motor skills. The result is beautiful objects that can be used, given as gifts or used as decoration. The butterfly is a pretty spring motif that offers plenty of scope for artistic design. Here you will find three different instructions on how to make butterflies from paper, pipe cleaners,craft beads and many different colors to make butterflies.
Crafting is learning
Making butterflies with children in the spring is not just a pastime. Depending on their age, it can be more or less of a challenge to make butterflies with pencils, scissors, wire and other tools and materials. craft materials materials. Fine motor skills are encouraged. This in turn is closely linked to language development. If you also talk about what you are making, your child can learn something on several levels at the same time through play.

For example, explain that butterflies are insects and feed primarily on flower nectar. They are the perfect spring motif because they are most frequently seen at this time of year. What was that again about the caterpillars and the cocoon? The transition from small, crawling animal to beautiful butterfly is a fascinating story for little explorers. Use the craft lesson to take a closer look at the animal.
Ideally, you should collect a few ideas in nature. Go out and observe butterflies in a meadow. What do they look like? What colors do they have? Perhaps carefully catch a specimen and take a closer look at it. By now, the children will have plenty of inspiration for how they would like to make their own butterflies.
Butterflies made from beads

Making butterflies with beads and a little skill
Our first craft instructions require a lot of dexterity. You will also need the following materials:
- Pipe cleaners
- Colorful beads, for example Lentil beads made from wood
- craft string
Place four red and two black pipe cleaners on the table in front of you. Arrange the four red ones in a star shape. This means that the centers of the pipe cleaners lie on top of each other and four "rays" extend to the right and left. Now push one black pipe cleaner under the other so that half of it protrudes below and half above the center of the star. The last black pipe cleaner lies on top of the star so that it also protrudes half above and half below the center of the star. It therefore lies in the same direction as the other black pipe cleaner.

Now twist the two black pipe cleaners together just above and below the center of the star. This fixes the four red pipe cleaners in position. Twist the black pipe cleaners completely at the bottom. This is the back of the butterfly. Twist only half of them at the top. Then the two cleaners come apart and curl inwards. These are the butterfly's antennae.

Now comes the part of the craft that children enjoy the most: threading the beads. The lentil beads are now placed on all eight halves of the red pipe cleaners. You can mix and match. Leave at least two centimeters protruding from each half. Place a few beads less on the lower two beams so that the lower wings end up being a little smaller than the upper ones. Now all you have to do is twist the ends of the bottom and top two cleaners and cut off any excess. Reshape the wings a little with your fingers. These beaded animals look good in a window or in a large bush.
The wind chime

Paper butterflies for a wind chime
Our second crafting instructions welcome spring with a wind chime. This looks great on a balcony, terrace or on a tree in the garden. You will need the following materials:
- Cardboard box
- scissors
- string
- silicone beads
- 6 safety beads
- little bell
- carabiner
First look for a template for a butterfly in magazines or on the Internet. Of course you can also draw it freehand. The template should be around 15 centimeters wide. Transfer it to a sturdy piece of cardboard. Now your daughter or son can carefully cut it out.
Now color comes into play. Let your children paint or stick on the cardboard until it is really colorful. Then make five small holes in the cardboard close to the bottom edge. For example, two holes in each wing and one hole in the body are suitable. Cut five pieces of string, each ten centimeters long. Tie a knot in one end and string a safety bead onto it. Thread the long end through the hole.
Now add more beads to the string until it is almost full. Tie a little bell to the string at the bottom. This holds the beads in place and rings in the wind. Make a final hole in the top center of the butterfly's body. Use another safety bead to attach a longer string here, which is knotted to a carabiner. You can use this to hang your wind chime on branches, poles or hooks.
Colorful butterflies with watercolors

Painting with watercolors
These craft instructions are particularly suitable for young children. You only need the following materials:
- Paper
- watercolors
- paintbrush
- Wax crayon or cardboard and scissors
Fold the paper in half so that the short edges are on top of each other. Open the paper again. Now your child can paint colorful blobs of watercolor close to the folded edge. They should use as much water as possible. To avoid stains on clothing, it is best to tie a child's apron on beforehand. Now fold the sheet back together and press firmly. The blob inside will now run in all directions.
The big surprise comes when you unfold it. The colors have mixed and a new motif has been created. It doesn't really matter whether it really looks like a real butterfly or not. When the picture is dry, use a black wax crayon to draw the body of the butterfly along the folded edge. Alternatively, you can cut a body out of cardboard and glue it onto the folded edge. Now spring can come!


