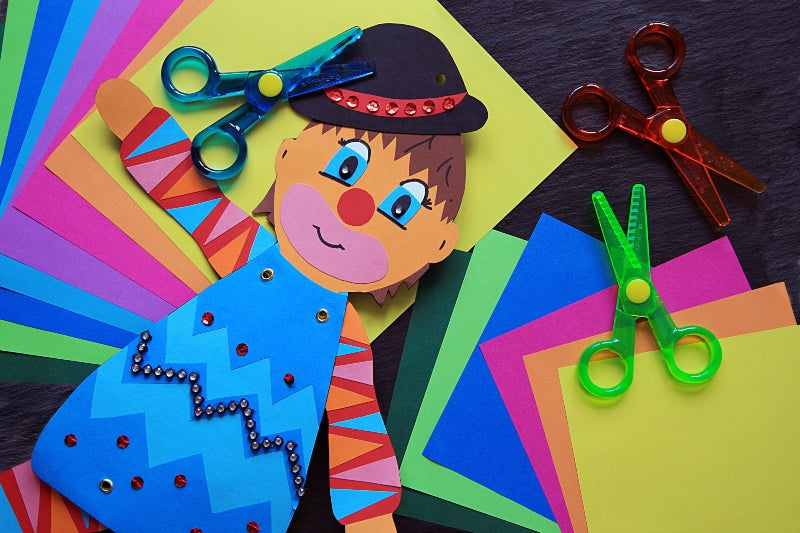
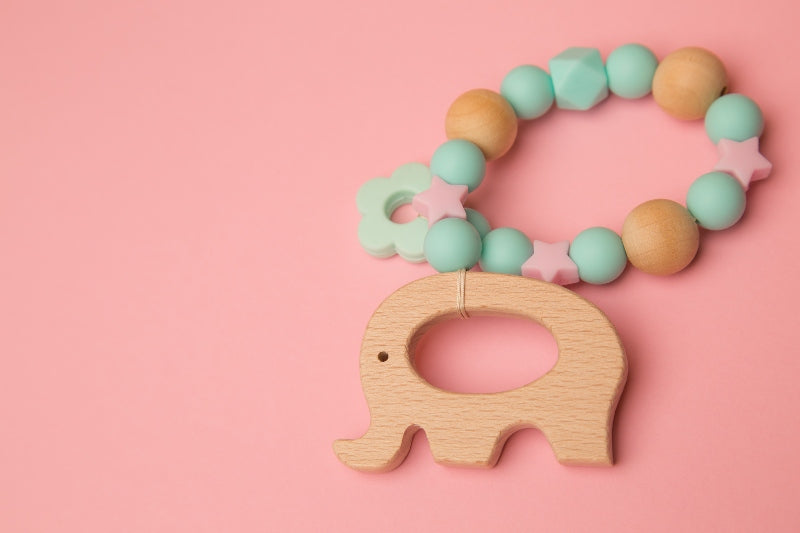
" Two beautiful craft ideas made from paper and wood "
The time-honored classics in the children's room are still very popular today: jumping jacks. They are also among the toys that you can make yourself with your child. We can give you a few ideas for making them. Decide for yourself whether you would prefer to make a clown, rabbit, bear, elephant, Santa Claus or even a fairy as a jumping jack.
Craft instructions for a jumping jack made from paper
You can easily make a jumping jack out of paper or cardboard together with your child. Depending on their age, a brief instruction may even be enough and the little ones can do most of the work on their own. The only thing you should definitely look over your shoulder for is the holes. If they are in the wrong place, the whole figure won't work.
Materials required craft materials:
- Construction paper or colored cardboard
- pencil
- scissors
- craft glue
- Punch or hole punch
- Pattern clips
- String
- Safety bead or bell
- Colored pencils
Making a jumping jack out of paper - step by step
First of all, the youngest crafters have to decide on a motif. Should it be a clown or a robot? Almost all figures can be broken down into the simple components of head, body, arms and legs. These handicraft instructions describe a bear as an example. Use a pencil to draw a smaller circle for the head and a larger circle for the body on the paper. Alternatively, draw directly onto brown cardboard. This saves you the work of coloring at the end. Draw long ovals for the limbs. The legs should be a little longer and thicker than the arms. To get exactly identical arms or legs, cut out the first one straight away and use it as a template for the second one.

crafting table
You now have a total of six individual parts. Give the bear a few more ears, eyes and a nose. The ears are two small circles of brown cardboard. The eyes and nose are even smaller circles made of black cardboard. The easiest way to draw on the mouth is with a colored pencil. If you like, you can of course draw the whole face by hand. Glue the head to the body straight away. Before you assemble the jumping jack made of paper, all other decorations should be completed. Perhaps he will have pink paws or blue dungarees?
Assemble the individual parts
Place the individual parts on top of each other so that it looks like a real bear. Now comes the most difficult part when it comes to making a jumping jack: the holes. The limbs should have a hole at the top but not too close to the edge. If the arm or leg is pointing straight down, another hole must fit over the hole for the string. Make the holes with a normal paper punch or hole punch pliers. Put the bear back together and then mark the places on the body where the corresponding four holes need to be made. Pointed scissors or a knitting needle will help.
Before you finally assemble the jumping jack, make another hole in each limb for the string.
To do this, place the arms and legs so that the fingers or toes are pointing straight down. Place the hole for the string slightly above the first hole. You can now staple the individual parts together. The limbs should be under the body. Insert the pattern staples from front to back through the hole in the body and arm or leg. Leave plenty of room for maneuver when closing the staples so that the jumping jack can jiggle undisturbed.
Setting the strings
Now we are almost at the end. Take a short piece of string and connect the two upper holes of the arms together. When the arms are hanging loosely, the string should run in a straight line from hole to hole.

Use another piece of string to connect the legs together in the same way. Knot a longer piece of string with one end in the middle of the string between the arms. Tie another knot in the middle of the string between the legs. The cord should be almost taut between the two knots. At the bottom, it hangs down between the bear's legs for approx. 30 centimeters.

Attach a small bell to the lower end bell or a craft bead. Now all that is missing is a small hole between the ears. Tie a final string here to hang the bear up. Now pull the bell or bead at the bottom and the arms and legs will wiggle up and down.
Making a jumping jack out of wood
The wooden jumping jack is very similar to its paper counterpart in terms of the craft idea. They are even identical in their basic structure. The only difference is the crafting material:
- Plywood
- Jigsaw or fretsaw
- paper
- pencil
- scissors
- Drill 4 mm and 2 mm
- 3 mm round-head screws
- Acrylic paints
- glue
- String
- Lentil beads
- Bells
Please note: As this involves sawing and gluing, small children are more likely to be spectators and creative advisors. Older children can do the craft themselves under supervision and practise using the fretsaw.
Crafting instructions for the wooden jumping jack - the first steps
Draw the individual parts on the paper as described above. Once you are happy with the shapes, cut them out. Use the paper parts as templates and trace the outlines onto the wood.
Now you need to saw out the individual parts cleanly. Next, determine the points for the joints.
Drill through the body at the appropriate points using a 4 mm drill. It is sufficient to mark the points on the limbs with a 2 mm drill bit. Drill another hole in the center of the upper end of the head.
Assembling the individual parts
Before you assemble the individual parts, the jumping jack needs to be painted. Acrylic paints are very suitable for this. For the eyes, nose and buttons, glue on lentil beads in matching colors.

Now everything has to dry well! Screw the screws into the front of your wooden puppet. Pay attention to the length: the screws must reach a good distance into the limbs, but the tips should not protrude at the back. While the screws are movable in the body, they are fixed in the arms and legs. Finally, only the cords are missing. Attach the two cross-connections above the joints as you did when making a jumping jack out of paper. In this case, glue the ends to the wood. Use a long string to connect the cross strings vertically so that a piece of string sticks out from under the figure.

Attach a small bell to the end of the string. Thread a final string through the hole in the head. Use it to hang the jumping jack. Now you or your children can make the jumping jacks dance. This is great fun, especially for the little ones. To make the whole game more active, repeat the movements together with your child. This will get the circulation going!


