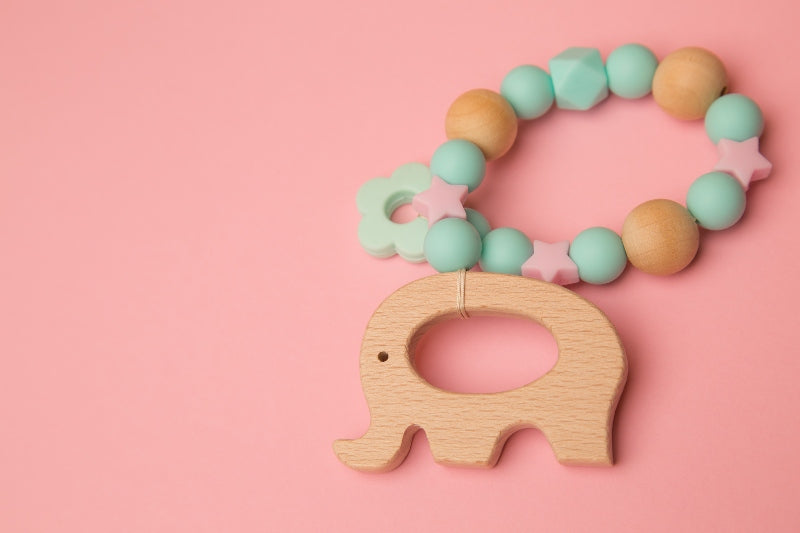
Are you in a crafting mood, but your little darling isn't giving you much creative freedom at the moment? Then simply put togetherbaby toys that your child is sure to love. Especiallygrasping toys belong in the nursery in the first few months, as these toys usually promote haptics, motor skills and acoustics at the same time. In the following lines, we will show you the advantages of grasping toys and show you how you can make beautiful, loving grasping toys yourself in no time at all using various craft instructions.
The grasping toy: baby's first toy
Grasping toys are often the first toys that babies own. While babies tend to occupy themselves until they are around 3 months old, they start to explore their surroundings from around four months. From this point onwards, objects that offer lots of new things to discover are particularly interesting. Grasping toys in particular are perfect, as the different shapes, surfaces and colors encourage development in a playful way. They provide a varied activity and your child also trains eye and hand coordination as well as motor skills. Simple rings made of wood, silicone or plastic are suitable as first grasping toys. Rattles and small bells also provide lots of fun while playing.

Make your own grasping toys: Suitable craft materials
To make your own grasping toys, you should always use beautiful, high-quality materials. When buying craft materials, make sure that the products meet the requirements of DIN-EN 71-3 (safety for children's toys). There are various materials available for your creative ideas:

- Motif beads: Cheerful butterflies, flowers, stars, cars and many other motifs make a great highlight on the grasping toy.
- Wooden beads: Robust wooden beads in various sizes are available in different colors so that you can conjure up individual toys to your heart's content.
- Letter cubes: Letter cubes are ideal for personalizing the grasping toy with names. They are available in different sizes and colors.
- Bells: They make great noises and encourage your little one's acoustics.
- Crochet beads: The soft beads are available in different colors and can therefore be perfectly adapted to the child's preferences.

Basically, there are virtually no limits to your creative ideas when making grasping toys. There are numerous different craft materials available for you to make the most beautiful grasping toys yourself quickly and easily.
Tip:Add a pacifier chain clip to your homemade grasping toy so that your child's new favorite toy can't get lost.
Make your own grasping toys: 3 quick and easy craft instructions
Ready in 5 minutes: The simplest of all grasping toys
Craft materials required:
- 1 mm PP cord
- Scissors
- Wool needle
- Wooden beads (20 mm and 15 mm)
- a raw wood ring
- Crochet beads in the color of your choice
- a silicone beadin a matching color

 This is how it works:
- Cut a 25 - 30 cm long piece of PP cord.
- Simply thread on all the beads as you wish using the needle. Please note: The knot must be between two wooden beads at the end.
- Finally, secure the whole thing with a wooden ring, which simply dangles from the finished grasping toy and provides a variety of activities.
Klimbim grasping toy
Craft materials required:- 6 wooden beads
- 6 crochet beads
- Thick needle with point
- some crochet thread
- scissors
- Wooden ring, Ø 3.6 cm
- wooden ring, Ø 8 cm
- little bell
 This is how it works:
- Thread the wooden beads and crochet beads onto the crochet thread one after the other using the needle.
- Before the circle of beads is closed, the two wooden rings are added. Finally, add the little bell to the circle.
- The bead circle is now closed well. To do this, thread several rounds (at least 3 times) of crochet thread through the beads and crochet beads. Always knot the ends when they meet inside the circle.
- Attach a crochet bead to each end of the yarn. The excess can be cut off with scissors.
Making an individual grasping toy with a name
Craft materials required:- Wooden half ring (100 mm)
- Two mini rings without holes (approx. 35 x 9 mm)
- PP cord
- three safety beads (12 or 10 mm)
- two motif beads
- little bell (15 mm)
- Letter cube for the child's name
- Wooden beads in bright colors
- Scissors, lighter, tweezers
 This is how it works:
- Take the half ring, thread the cord from bottom to top through the outermost hole, then pull a lentil bead through it and finish with a safety bead.
- Knot the ribbon twice, weld it with the lighter and then hide the knot inside the safety bead.
- Now you can start threading the colored wooden beads in any order you like. Integrate the child's name with the letter cubes and string on one of the motif beads as well. The correct number of wooden beads depends on the length of the baby's name. The longer the name, the fewer beads you should use. This will ensure that your grasping toy retains its beautiful round shape.
- Before threading the PP cord through the hole on the right-hand side, pull the two mini rings onto the half ring to create wonderful tactile and play opportunities for your child.
- Now pull the cord from the bottom up through the right-hand hole and thread another safety bead onto it. Carefully knot and weld the cord.
- Finally, take the bell and pull it through the cord so that you are holding the cord twice in your hands. Now thread on two of the wooden beads and the last motif bead. Here too, the longer the name, the fewer beads are used.
- Pull a safety bead onto the string, knot it twice again and weld the whole thing together for the last time. An individual and homemade gift for babies is finished.


