" Ideas for first attempts at handicrafts "
Children love to be creative. Crafting promotes fine motor skills and encourages the little ones to concentrate on one thing at a time. Crafting with small children is part of a happy childhood.
From the first year of life
As parents, you can actively support your children in creating wonderful small works of art. Even the youngest children are perfectly capable of making something beautiful. Today we'll give you a few craft ideas if you want to do crafts with toddlers from the age of one.
First craft ideas for boys and girls up to the age of two
Believe it or not, crafting with toddlers is possible from the age of one. Your child may not yet be able to hold a pencil properly or even use scissors. However, finger paints or potato printing are suitable for creating artistic pictures. At this age, little ones love to spill, smear and splash. Therefore, use simple and effective tools such as finger paints:

Potato printing
Finger paint pictures - first pictures of the offspring
The aim here is not yet to draw clear shapes and figures, but rather to create as colorful a picture as possible. All you need is various finger paints, paper or light-colored wallpaper and, of course, a protective surface on the table. Spread out the wallpaper on the table. Now set out the paints and let the little ones paint with their fingers to their heart's content. This can result in beautiful and creative pictures. Please do not leave your child unattended. Even if the paints are labeled as non-toxic, children should not eat them.

Painting with finger paints
More is possible from the age of two
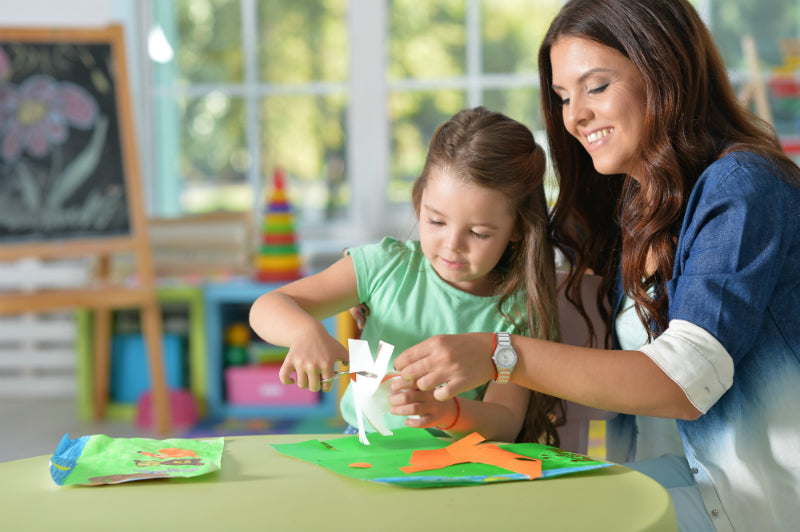
As children develop, more craft ideas for toddlers can be implemented. Around the age of two, boys and girls are usually able to handle children's scissors and cut out simple shapes such as circles or squares. Of course, don't leave your little sunshine to do this alone, but always work together. Toddlers still need help and some guidance, of course.
Craft ideas for toddlers: versatility and inventiveness create new creations
Let the following ideas inspire you to try out something different from simply drawing a picture.
Many parents rediscover their own creativity when doing handicrafts with toddlers and it can turn into a wonderful pastime together!
Memory game made from fabric cards
Why only create decorative works when you can just as easily create your own games and toys? Toddlers love the game of memory. It promotes concentration and trains the memory. It also strengthens their imagination. Why not make your own memory game with your children?


Your craft materials:
- 10 different colored cloths (e.g. Nuschelis)
- 1 sheet of cardboard
1. cutting the cards to size
Cut the cardboard into 20 equal-sized panels if possible. Draw the lines with a thick marker and then cut out the cards together.
2. cutting the fabrics
Now cut the fabrics into 20 equal pieces. Make sure that you need two panels of each color. It is advantageous if the pieces of fabric are slightly smaller than the cardboard panels.


3. gluing on the fabrics
Now all you have to do is stick the fabrics onto the boards and you have created a small, simple memory for colors yourself. The back of the boards could do with some more color, of course.
Tip: For slightly older children, the fabrics can also be cut into different shapes. This quickly increases the level of difficulty and keeps things exciting.
Craft ideas for a little caterpillar made from beads
Toddlers love making things with beads. Wooden beads in different colors and shapes offer you more craft ideas for small children. You can easily transform the classic bead necklace into lots of figures. How about a colorful caterpillar? You will need the following craft materials for this:
- Various wooden beads in different colors
- 2 Crochet beads
- stringing cords
- 1 foam ball
1. threading and fastening
Start by threading at least three cords. These can be quite long. Up to 30 cm is ideal. The colors hardly matter for a colorful caterpillar. If you want to give each string its own color, then arrange the beads accordingly. Toddlers can string the beads and have lots of fun doing so. Once the strings are finished, fasten the end with a secure knot and put the strings to one side for the time being.


2. the head of the caterpillar
Take the small foam ball and cut it in half. Cut out a small indentation at the bottom end into which the strings will later be embedded. Glue on the crochet beads as eyes using hot glue.


3. the body of the caterpillar
Now simply create the body from the strings of beads. You can simply twist them together or join them using the braiding technique. Either way, the result is a beautiful, large roll that serves as the body of the caterpillar. Knot the ends tightly again. Now apply some hot glue to the notch below the head of the caterpillar and attach the bead body.


Tip: You can use a fabric crayon to add a little more detail to the caterpillar's head. For example, add a mouth or simply draw on a few cheeks. Many toddlers want to do this themselves.
The Villa Kunterbunt - based on the Swedish children's book heroine
Generations have grown up with the stories of Pippi Longstocking. A much-used theme when it comes to crafting with children. Create your own Villa Kunterbunt out of cardboard. A wide variety of craft materials can be used. From colorful cloths to craft beads and even leaves.
You will need the following for the villa:
- 1 cardboard box (preferably closed all the way around)
- Cloths in different colors (also leftovers from other craft activities)
- finger paints
- Wooden beads
- String
In addition, the craft scissors and hot glue should not be missing.
1. the basic design
First, place the empty cardboard in front of you and think together with your child about where exactly the windows and doors should be. Sketch this area with a marker or pencil. You do the cutting out. Toddlers like to watch with interest to see if you are doing everything right.

Create your own Villa Kunterbunt from a cardboard box
2. colorful design
Now it's time to breathe life into the cardboard with as many colors as possible. You can use finger paints or ink and brushes for this. Depending on what gives you and your little darling more pleasure. There are no limits to your imagination here. Decorate the entire box all around.

Children with finger paints
3. create and attach the roof from two pieces of cardboard
Before you put the roof on later, you need to color it first. This is easier and your little one can help you with this. Once the cardboard is dry, it can be attached to the cardboard. To do this, fold a 2 cm wide edge at each end. First glue both ends to one side of the cardboard. Then bring the cardboard together at the top so that you can glue the butt edges together at the top. The roof is finished!
Take a short break and perhaps a nap for small children: everything must now dry thoroughly!
4. add colorful accents and details
To give the house a touch of Villa Kunterbunt, it's now time to add a few accents to make the whole thing unique. For example, cut the fabrics to size and stick them in front of the windows as curtains or drapes.


Or cut the fabrics into thin strips and stick them to the roof to create colorful accents. Even short strings of beads can be used. For the door frame, for example.
In every respect, a project like this offers plenty of potential to let your imagination run wild.
At a children's birthday party, for example, several small children can work on it at the same time. The only requirement here is a suitably large cardboard box.


