" Craft ideas that make the little ones happy "
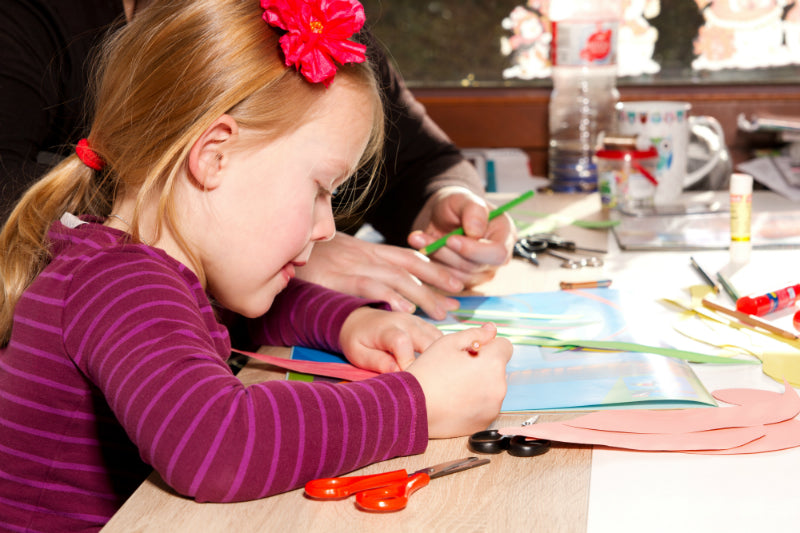
Crafting with children is not just a fun activity for the little ones. It's time together where you can combine creativity, concentration and fun. With a few great craft ideas for children, there is never a shortage of new creations.
Fine motor skills and concentration are trained
Children love working with different materials and putting them together to create their own work of art. Creativity ensures that children constantly improve and optimize their imagination. Of course, crafting is not just a simple activity.

Crafting trains fine motor skills and concentration
There are numerous positive aspects to this activity that have an impact on a child's healthy development. On the one hand, the ability to concentrate is promoted, and on the other, fine motor skills and creativity. The materials used are the most important factor here. The threading of beads alone requires good sensitivity and a lot of concentration. Last but not least, crafting with children helps to improve eye-hand coordination. These are all important foundations for meeting new challenges later on in everyday school life.
Crafting lays an important foundation
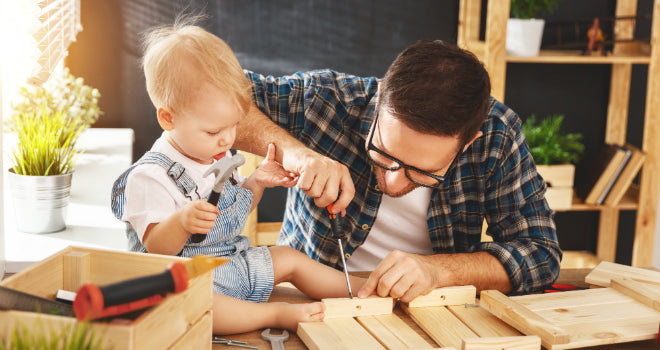
The younger the children are, the more support they initially need from their parents. It is not uncommon for the youngest craft artists to hold some tools in their hands for the first time. It is therefore essential to use child-friendly tools when crafting with young children.

Crafting lays an important foundation
Children's scissors are a good example. These are designed for small children's hands and do not have a sharp-edged tip that could injure the little ones. As a parent, you should always follow the guiding principle when supporting your child:
"Help me to do it myself!".
This is taken from Montessori pedagogy. Children should be shown the way, but not completely relieved of it. The motto is to learn from experience and mistakes and improve. Show your child how to use the tools and allow them to become active themselves.
Wonderful craft ideas for the little ones: the magic tree collage
Painting pictures with the little ones is a great idea. But how about putting your little one's artwork together with them to create a lovely, colorful collage? Different materials can be wonderfully combined. Don't give the child a specific direction, but rather ask them which motifs they would like to see on the collage. Sometimes it doesn't necessarily have to be a picture in the classic sense.

Wonderful craft ideas for the little ones
We give you craft ideas for children with whom you can make such a collage together. To do this, we create a colorful magic tree. This offers plenty of scope for children's imaginations and can be designed to your heart's content. As usual, first set aside the most important materials for the craft so that you have everything to hand during the actual work.
- 1 sheet of A3 or A4 paper
- Craft sheets in different colors
- Nuscheli in different colors
- Leaves and twigs
- Crochet beads
- Colored pencils, watercolors
Please note that this tree will grow very large. This makes it perfect for the walls of a child's room. If you don't want to work on these directly, we recommend applying 1-2 blank strips of new wallpaper first. This way, you can simply peel off the magic tree collage when it is no longer needed.
1. the basic elements for the tree
Start by making the basic elements for the tree. To do this, wait until the paste on the wallpaper panels has dried completely. If you are starting directly on the wall, you can start applying the individual elements for the trunk straight away. Unfortunately, your child can't help with this yet, but they can certainly contribute their own design ideas. After all, who says that trees always have to be brown and green?


Gradually apply the pieces of paper that are to serve as the trunk. Then decorate the treetop and the individual branches with Nuscheli in the colors of your child's choice. Using Nuscheli may seem strange in this case, but the plush effect of the end result speaks for itself.
Alternatively, you can also use paint and simply paint on the tree trunk and crown, but the plush "touch and feel" effect would be lost.
In any case, remember to add several branches to the tree to which the children's pictures can then be attached.
2 Decorations and details
Once the basic structure is in place, lovely details can be added to decorate it. Crochet beads, wooden beads or other craft materials are ideal for this. craft materials.


As a further addition, you can of course also collect small branches, leaves, acorns, pine cones or similar items for crafting together with your child outdoors. craft beadswith the hot glue.
3. the finishing touches
The final step is to design the base with plenty of creativity. Your little darling can now draw pictures on A3 or A4 sheets of paper and place them on the magic tree collage as they please. The little works of art can also be replaced by others or swapped with each other at any time.

Girl crafts with fall leaves
Make a mobile with beads and natural materials
Nature provides you with a wealth of wonderful craft materials. There are virtually no limits to your creativity. From painting stones and assembling sticks to creating artistic animal shapes from chestnuts. Here's an idea for something even more unusual: a mobile made from natural materials.
All you need is the following utensils:
- 3 sticks
- string
- Chestnuts, pine cones, acorns and other natural materials
- Various wooden beads
1. the basic structure
First use the sticks for the basic structure, which can also be coarse, sturdy branches from the forest. These are shortened to a uniform length. Then use a fine wood drill to drill small holes in the pieces through which the threads will later be pulled. You can determine the number of holes yourself, depending on the length of the sticks.
We recommend between 5 holes for threading cords, as the sticks will need to be joined together later.
2. tighten the threads
Now it's time to attach the threading cords. Thread threads through the outer holes of the sticks and knot them above the hole. With 2 sticks, it is important to leave the middle hole free. It will be needed later to tie the sticks together to form a mobile. Leave a total of 3 holes free on the third stick.


3. string the elements
Using a fine drill, you can now drill small holes through the chestnuts, acorns, pine cones and other materials. Now the child's help is needed again. It's time to thread on the individual natural materials and wooden beads. There are no limits here for your little treasure. The individual components can be mixed and matched and wildly strung onto the threads. Then all you have to do is join the individual mobile parts together.


To do this, thread a thread through the middle hole of each of the two sticks and knot it so that it is secure. Then join the two sticks together with the third stick at the left and right holes. Tie the middle hole of the third stick with the string that will subsequently support the mobile. Congratulations, the mobile made from natural materials is now finished.


